

A few years ago I won a long strand of these old type Christmas lights in an auction box. The bigger bulbs that would get hot to the touch.

I used them for one season and figured I'd just take them apart for a craft.
And finally, just yesterday, I got around to painting them in a design similar to some I'd seen on Etsy for $6.75 each. I just love all the snowmen items that the shop, FlatHillGoods, makes.

I used them for one season and figured I'd just take them apart for a craft.
And finally, just yesterday, I got around to painting them in a design similar to some I'd seen on Etsy for $6.75 each. I just love all the snowmen items that the shop, FlatHillGoods, makes.
So here's how I made my version of
RECYCLED CHRISTMAS LIGHT BULBS into SNOWMEN ORNAMENTS
in case you want to give them a try.
Here they are again before, after I had unscrewed them from the light strand.

First off, I just got out some of my craft paints and a variety of paint brushes and began painting on white circles for faces.

Letting them all dry, I was ready to add some eyes and mouths in a charcoal gray.
I use the end of my brush, the plastic tip for this process.

And then comes the cinnamon orange noses.


And a few more with noses....


And then after they dry, I go back with the antique white and add a little dab of snow to their noses and white dots to their eyes.


I love the finer little details like this.

Then I take a toothbrush, dip it in a mixture of half water and half off white paint, and do the speckle effect.

I love how it makes them all snowy looking.


And then after they dry, they are ready for their wire hangers.
I just used the craft, thin gauge wire. It is at the Dollar Mart, 3 rolls in a pack for $1.00.

And then after the hangers are on, I was ready to add some decorations.
I cut up pieces of the green garland and wove them into the wire hanger.

And I also cut some strips of jute twine and tied them on to a few.

Then I found some small, metal, rusty stars in my craft supplies and I slid a few of them onto the wire hanger also.

On the rusty star, I plan to write "FROSTY" in off white if I have time later.
And here they are, all coming together.

I gave the ends of the wire hangers a twirl with the tip of a paintbrush also.

I priced these with sticky, print out tags, for $2.49 each.

And here they are all ready for the Christmas shoppers in my local co-op craft booth.


Remember, keep those ole glass Christmas bulbs. You may just want to give this a try one day!
Speaking of Christmas, I've started listing some of my hand made, custom necklaces/charms on Etsy.
Here's the latest: GOD Gave Me U if you're interested in custom gifts.
See ya'll next time,
~Lisa
in case you want to give them a try.
Here they are again before, after I had unscrewed them from the light strand.

First off, I just got out some of my craft paints and a variety of paint brushes and began painting on white circles for faces.

Letting them all dry, I was ready to add some eyes and mouths in a charcoal gray.
I use the end of my brush, the plastic tip for this process.

And then comes the cinnamon orange noses.


And a few more with noses....


And then after they dry, I go back with the antique white and add a little dab of snow to their noses and white dots to their eyes.


I love the finer little details like this.

Then I take a toothbrush, dip it in a mixture of half water and half off white paint, and do the speckle effect.

I love how it makes them all snowy looking.


And then after they dry, they are ready for their wire hangers.
I just used the craft, thin gauge wire. It is at the Dollar Mart, 3 rolls in a pack for $1.00.

And then after the hangers are on, I was ready to add some decorations.
I cut up pieces of the green garland and wove them into the wire hanger.

And I also cut some strips of jute twine and tied them on to a few.

Then I found some small, metal, rusty stars in my craft supplies and I slid a few of them onto the wire hanger also.

On the rusty star, I plan to write "FROSTY" in off white if I have time later.
And here they are, all coming together.

I gave the ends of the wire hangers a twirl with the tip of a paintbrush also.

I priced these with sticky, print out tags, for $2.49 each.

And here they are all ready for the Christmas shoppers in my local co-op craft booth.


Remember, keep those ole glass Christmas bulbs. You may just want to give this a try one day!
Speaking of Christmas, I've started listing some of my hand made, custom necklaces/charms on Etsy.
Here's the latest: GOD Gave Me U if you're interested in custom gifts.
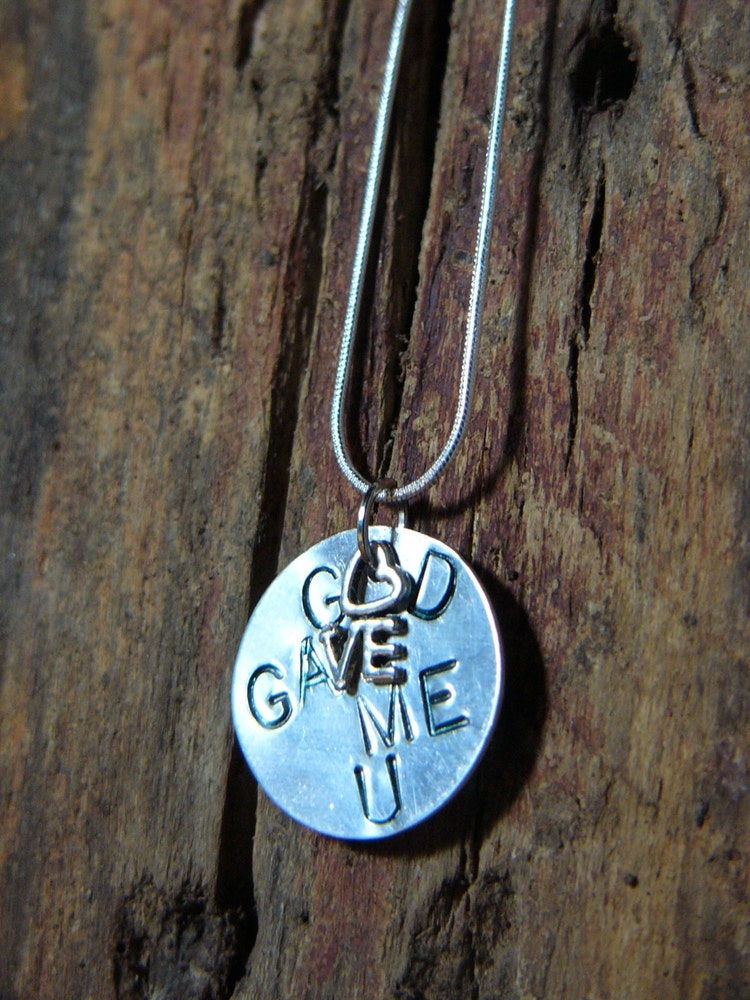 |
| GOD GAVE ME YOU |
~Lisa


